Tuesday, June 26, 2012

Master Bedroom Retreat

We've tackled another room...the Master Bedroom.  When selecting the furniture, bedding, etc. for this room I was hoping to achieve a "hotel chic" feel.  Here are some pics of the results:


My favorite thing in the room is something you can't actually see....our fabulous iComfort mattress by Serta.  Ever since grad school, my husband and I have been sleeping on a hand-me-down mattress.  Don't get me wrong, we really appreciated it at the time, but one of the first big purchases we made for our new home was a quality mattress.  We are now the proud owners of an adjustable iComfort Insight mattress by Serta like the one pictured below.  It is made of gel memory foam and makes late night reading and working in bed extra comfortable.


Other than adding some personal photos and nick nacks on the dresser and night stands, I am calling this room done :)

Where We Got It:


Bedroom set, bench and accent chair from American Signature Furniture
Artwork from Homegoods
Lamps from Pier 1
Curtains from JCPenney
Bedding from Hotel Collection by Macys
Ceiling fan from Lowes
Mirror from Ikea

Sunday, June 24, 2012

30 Day Inspection

Since I have made little progress on finishing the remaining rooms (the whole working thing is definitely getting in the way), I thought I would post about our recent 30 Day Inspection. 

Last week our PM came by to run through any issues we had and take a thorough look at our house.  We really didn't have any issues for our PM and I think most of the things that folks bring up at the 30 Day are issues we had resolved prior to closing when we had our third party inspection (see post here).  I was surprised how thoroughly he and his handyman looked through the house.  I can't stress enough how great our PM has been throughout the entire process!

My only issue was the flooring.  We got our flooring through RiteRug and had the padding in the carpeted areas upgraded in the upstairs and family room but not the basement.  As soon as we moved in I "tested" the carpet and could feel no difference between the upgraded and non upgraded areas.  What is this test you ask?  It involves a very scientific bouncing up and down on the floor in one area and then doing the same in another area.  After our PM performed the very same "test" he called a rep from RiteRug to come and pull up corners of the carpet to see what was going on.  Turns out that the flooring folks decided to add upgraded padding everywhere.  That's why the flooring felt no different in the various areas.  I was extremely relieved for two reasons: (1) I would have had a mental breakdown if we had to move all the furniture so the carpet could be ripped up; and (2) I was happy to discover I was not crazy and the flooring issue was not a figment of my imagination.

So I guess we are all clear until our 10 month.  Hopefully I will have a productive week and will post additional pics soon.  Until then, here is a pic of my bulldog Willa enjoying the floors :)


Saturday, June 9, 2012

Family Room

It is hard to believe that we have been in our new home for almost 30 days!!!!  We are STILL unpacking, but have checked another room off our list...the family room.  I wanted to make sure that the room is comfortable with lots of storage for all of our DVDs and kiddo's toys too.  Here are the highlights:

Everything together...


I often have design ideas with no real thought as to how to implement them.  I knew that I wanted the mirror to lean against the wall rather than hang on the wall.  After a lengthy discussion (read borderline argument) with my husband over why this was necessary, I took to the Internet to find a safe way to attach the extremely heavy mirror to the wall.  Leave it to the folks over at Young House Love to have the perfect solution: Furniture Safety Brackets (see post here).  Simply attach two to the wall (either screwed into the stud or using wall anchors) and two to your mirror, fasten the mirror to the wall with the straps and TAAADAAAA!!!


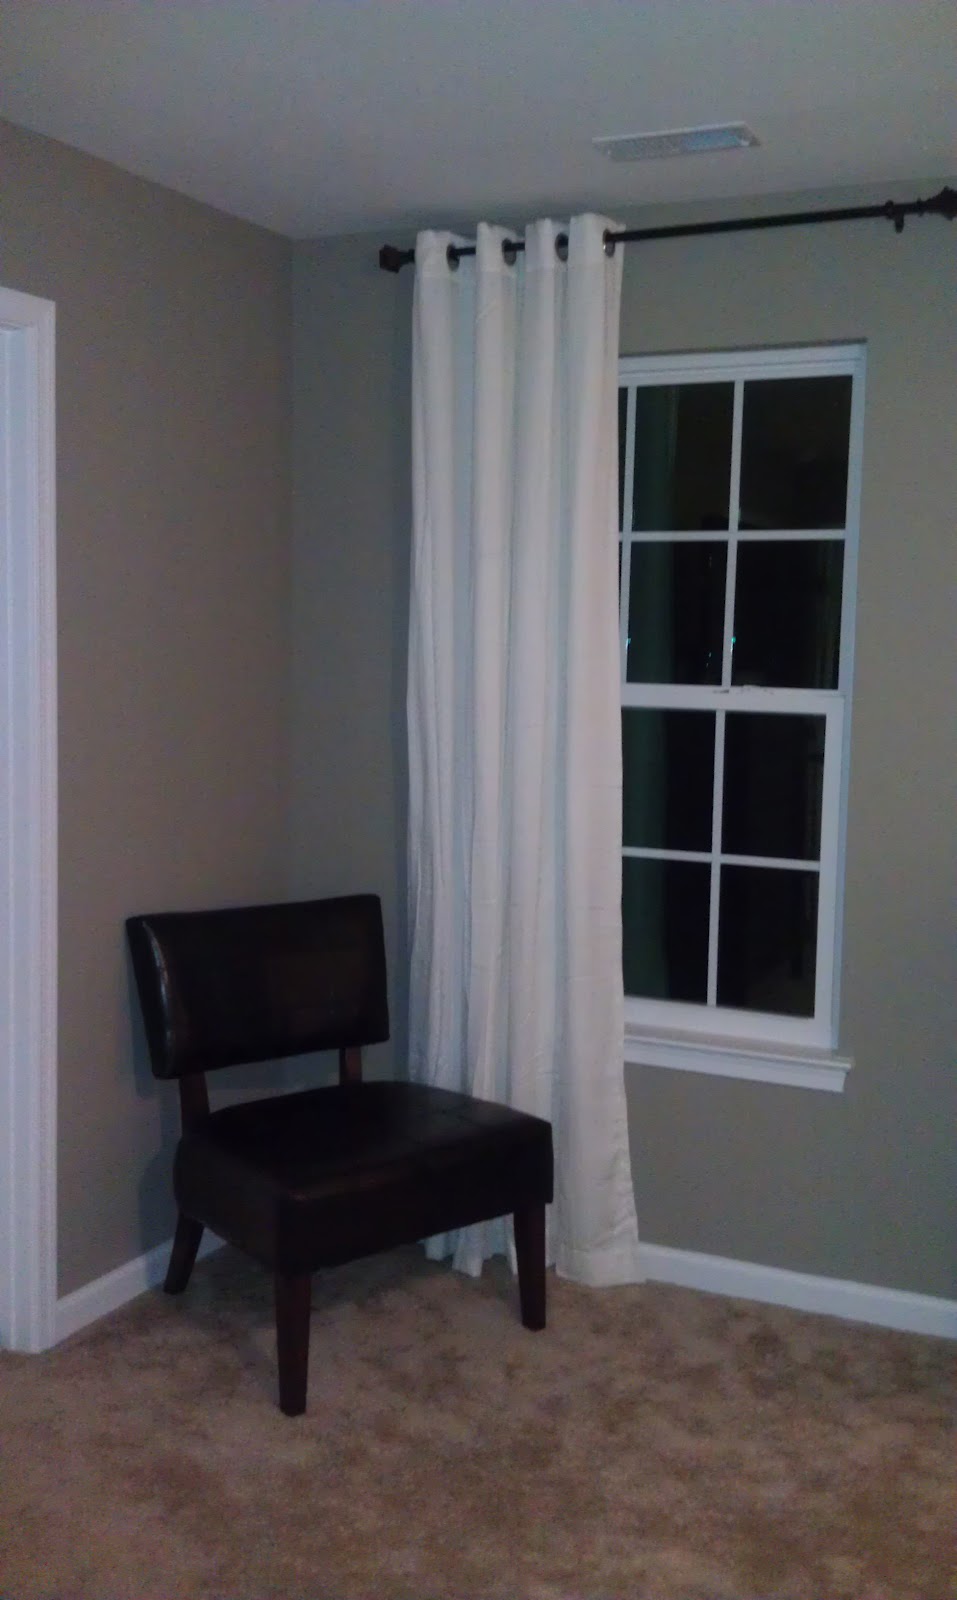
Another shot of the sofa and finished windows.  We previously tried having a separate sofa and love seat but the whole fam just ended up crowded together on one sofa.  A comfy sectional fits our lifestyle perfectly!


Still looking for a side table for between these chairs.  It has been challenging to find a table that is toddler safe and stylish.


Where we got it:

Sofa, ottoman and chairs from American Signature Furniture
Entertainment units, mirror and sofa table from Ikea
Ceiling fan/light from Lowes
Curtains and Pillows from Crate and Barrel
Furniture Safety Brackets from Amazon.com
Other miscellaneous objects from West Elm and the Mommy Esq archives

A big bonus feature you cannot see in these pics is the surround sound system.  We had it installed by Guardian and the speakers are in the ceiling.  I must admit that I was extremely skeptical about the entire thing (especially the price).  But even I agree that it was well worth the investment!  It sounds like you are sitting courtside when watching the NBA finals!!!  Maybe I can convince my husband to write a post about the specifics...

 
Well, I am calling this room done but there are still a lot of personal touches needed to make it complete.  The cabinets need to be styled and I plan to add more family photos to fill up the space.  But enough decorating for today....off to the pool with my little one :)

Friday, June 1, 2012

Roman Shades

Tonight while I was doing my weekly perusing of my fellow RH Bloggers' updates, I was inspired by Steve + Erica's post about their blinds.  There has been a long debate at my house as to whether or not window coverings were really necessary (after all we will only ever have one neighbor and the lot next to us is vacant for the foreseeable future).  Once I priced out the expense, the hubby was definitely against hiring someone to install the roman shades I so desired. 

Sooooo that left me with one option.....install them myself!  I would rate myself as above average in the "handiness" department.  I'm no Sgt. Rich, Steve + Erica or Thomas, but I can operate a drill and screwdriver well enough to install some shades....right?????

Turns out that the roman shades I purchased from Home Depot were very easy to install (about 10-15 minutes per window).  I chose the DesignView brand because they come in an array of colors and had lots of sizes in stock.  The only tools required to install were: (1) drill with 1/16th bit; (2) screwdriver; and (3) pencil (to mark holes for drilling).  All the other necessary hardware is included.

Take a look at my handy work...


Two rooms down :)